Welcome to Chipper 👋
Awesome to have you here! You might be wondering, Who or what is Chipper? Let me give you a quick introduction. Chipper started as a set of Python scripts designed to experiment with local RAGs (Retrieval-Augmented Generation). Essentially, we process local text files and enhance an AI model with that data.
The big advantage? By using RAG or embedding our knowledge base, we can achieve impressive results with much smaller models and keep everything private on your computer.
Tell me more 💡
With our embedded knowledge base, we essentially give our local Ollama model a "notebook" to reference. So, when we ask it something like, "Who is the best golden retriever in the universe?" it quickly checks a database, ElasticSearch in our case, to see if it has any relevant information. The database then returns embeddings to augment the model's response, making the process super fast!Chipper essentially provides an end-to-end architecture for experimenting with embeddings right from your command line. It leverages many great open-source tools like Haystack to manage embeddings and queries, Docker to eliminate system dependencies and make setup a breeze, and TailwindCSS to simplify visual changes. Plus, it includes many other small but powerful tools to make your exploration effortless and enjoyable. Mostly written in Python.
There is way more to learn about RAGs
- https://en.wikipedia.org/wiki/Retrieval-augmented_generation is a good start.
- https://www.youtube.com/watch?v=T-D1OfcDW1M is an amazing video about it by IBM.
Features
- Local & Cloud Model Support - Run models locally with Ollama or connect to remote models via the Hugging Face API.
- ElasticSearch Integration - Store and retrieve vectorized data efficiently with scalable indexing.
- Document Chunking - Process and split documents into structured segments.
- Web Scraping - Extract and index content from web pages.
- Audio Transcription - Convert audio files to text.
- CLI & Web UI - Access Chipper via a command-line tool or a lightweight, self-contained web interface.
- Dockerized Deployment - Run in a fully containerized setup with minimal configuration.
- Customizable RAG Pipelines - Adjust model selection, query parameters, and system prompts as needed.
- Ollama API Proxy - Extend Ollama with retrieval capabilities, enabling interoperability with clients like Enchanted and Open WebUI.
- API Security - Proxy the Ollama API with API key-based and Baerer token service authentication.
- Offline Web UI - Works without an internet connection using vanilla JavaScript and TailwindCSS.
- Distributed Processing - Chain multiple Chipper instances together for workload distribution and extended processing.
Step 1: Setting Up Chipper 🛠️
INFO
This documentation assumes you have some basic familiarity with the command line. If you're using Windows, it is recommended setting up WSL or MSYS.
Please note that Chipper is not your typical end-user product, it's a kit or toolbox for developers and tinkerers. Whether you're looking to extend your RAG setup or just need a starting point, think of it like an electronics kit: flexible, powerful, and meant to be customized. If you're looking for something simpler, check out Ollama's amazing web and desktop options.
1.1 Install Docker
Alright, let's get you set up! There's one key requirement: Docker. Chipper uses Docker to simplify the process and eliminate the need for a complex local setup on your machine.
1.2 Install Git and Git LFS
Secondly, you'll need Git and Git LFS, a version control tool that's also the inspiration behind GitHub's name. If you don't already have Git installed, no worries:
Step 2: Getting Started 🚀
2.1 Clone the Repository
To get the latest version of Chipper on your system, you'll need to clone it locally. Simply run the following command:
git clone git@github.com:TilmanGriesel/chipper.gitAre you running Linux or macOS?
INFO
Chipper aims to package everything into Docker containers, including Ollama. However, GPU support for Ollama in containers isn't universally supported across all platforms and hardware vendors. Currently, if you're using macOS or Linux with an AMD GPU, you'll need to download Ollama separately. During setup, Chipper should automatically detect your system and configure itself accordingly. If it doesn't, you can manually tweak your Docker setup by modifying docker/docker-compose.base.yml and adjusting the Ollama URL in services/api/.env.
2.2 Launch Chipper
Now we're getting somewhere! Chipper uses Docker Compose to orchestrate the various components we need to work together, such as ElasticSearch and Chipper services. The best part? You don't have to do much to get started, Chipper comes with a default configuration ready for experimentation.
2.2.1 Navigate to your cloned Chipper directory
cd chipper2.2.2 Run the setup script
./run.sh upThis step may take some time as Docker downloads all the required resources and compiles Chipper on your system.
Step 3: Testing Your Setup ✅
Let's verify that everything is working as expected by importing some test data included with Chipper. During this process, we'll also pull the embedding model from Ollama if it hasn't been downloaded yet.
3.1 Embed Test Data
./run.sh embed-testdata3.2 Access the Web Interface
./run.sh browseror open: http://localhost:21200
3.3 Run a Test Query
Tell me a story about Chipper, the brilliant golden retriever.Chipper will now respond using the test data embeddings we set up in the previous step. Essentially, we embedded a few fun stories about Chipper's adventures, so you'll likely hear all about them now!
INFO
You'll likely see a message like Starting to download model xy.z.... Don't worry, this only happens once for the default model. In the future, I plan to enhance this process with a progress bar or something similar. Once the download is complete, you can reload the page for a smoother experience.
Step 4: Embedding Your Own Data 📊
Congratulations! Now we're diving into the details. Embeddings are organized into what's called an index, which is essentially a label for a "drawer" where data or embeddings are stored. By default, Chipper uses an index named default. While embeddings and the web UI will automatically use this default, you can specify a different one if needed. Just remember, if you switch to another index, you'll also need to select it in the web UI using the /index myindex command.
4.1 Basic Embedding
./run.sh embed /my/data/pathWe can only embed text data, by default Chipper accepts:
.txt,.md,.py,.html,.js,.cpp,.hpp,.xmlextensions. You can change this allowlist by passing your own--extensionslist.
4.2 Advanced Embedding
Now we're ready to experiment! You can explore different splitting configurations to customize how text documents are divided. For example, you can use the --split-by argument to specify the method of splitting—options include "word," "sentence," "passage," "page," or "line." Adjust the --split-length to define the number of units per split, --split-overlap to set the number of units overlapping between splits, or --split-threshold to fine-tune the process further.
For more details about the available options and how they work, check out the Haystack DocumentSplitter documentation.
You can set the index using the --es-index <name> parameter, specify the embedding model with --embedding-model <name>, and much more. For a complete list of options and possibilities, refer to the help command:
./tools/embed/run.sh --helpStep 5: Next Steps and Exploration 🔍
First off, if you've made it this far, let me unravel the mystery behind why Chipper is called Chipper the Golden Retriever. For starters, I adore golden retrievers! But there's more to it: they love to chip wood, just like we need to split and chip the data we want to embed. And as for retriever, - well ...
Jokes aside, this project offers plenty more tools to explore. You can transcribe audio files into text and embed it, scrape websites (only your own or with proper consent), or dive into the frontend, here you can write /help to see some options or backend to customize and change Chipper to suit your needs.
While I plan to expand this documentation, I generally prefer to keep things documented directly in the code and configuration files. I hope you have a fantastic time experimenting! You will find many ./run.sh scripts, the root one will give you some points to start if you invoke it without arguments.
If you enjoy what you see, leaving a star on the GitHub repo would mean the world to me.
Configuration ⚙️
This guide outlines the essential steps for configuring Chipper.
Chipper's configuration is managed through environment variables and .env files. On the first run, Chipper automatically generates these configuration files for your system. You can find the .env files within each service or tool's base directory. For example:
services/api/.envEditing Configuration Files
You can modify the .env files manually using your preferred text editor or use Chipper's built-in configuration utility:
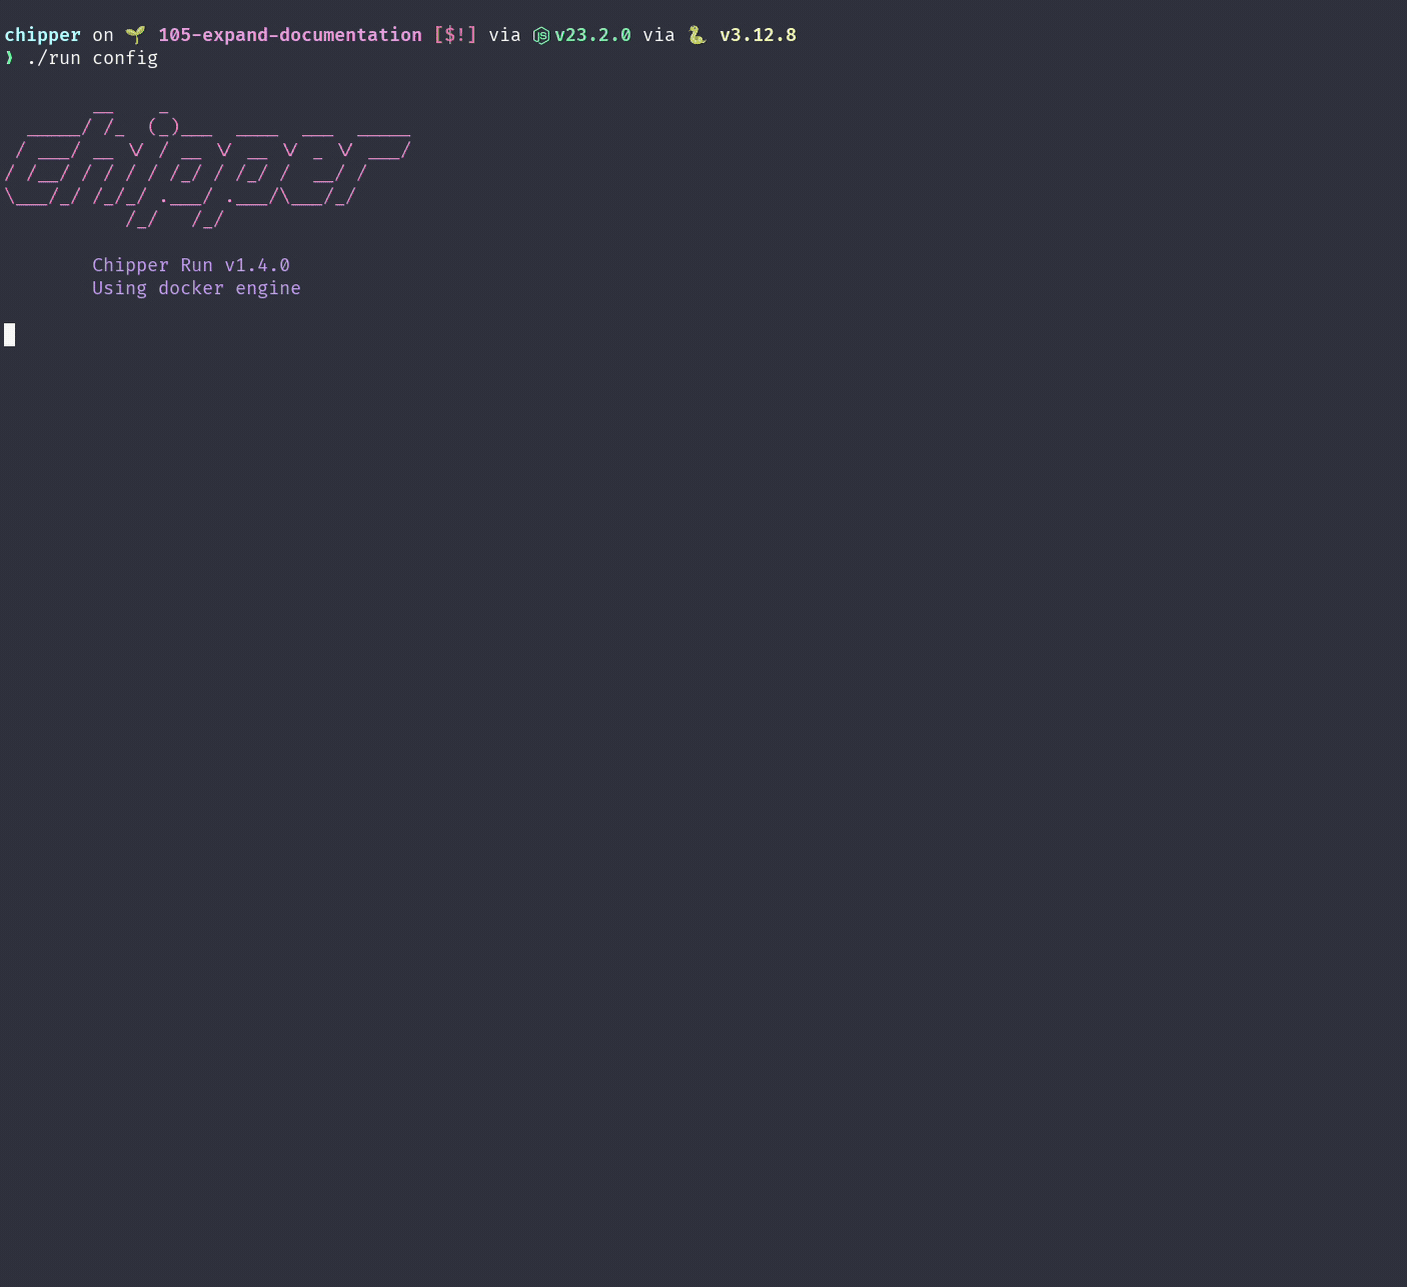
./run configThis utility scans all directories and presents available configuration options in a structured table for each service.
Changing the Inference Model
To change the default inference model, update the following environment variables in services/api/.env:
MODEL_NAME– Specifies the default model.HF_MODEL_NAME– (Optional) Set this if using a Hugging Face endpoint.
Changing the Embedding Model
To change the default embedding model, update:
EMBEDDING_MODEL_NAME– Specifies the default embedding model.HF_EMBEDDING_MODEL_NAME– (Optional) Set this if using a Hugging Face endpoint.
Exploring Configuration Options
For a comprehensive view of all configuration options, browse the generated .env files within each service directory. These files contain various settings that allow you to customize Chipper according to your needs.
Have a nice day! and don't forget to checkout the Chipper Demo section!